I draw quick and dirty thumbnails of various ways to write out the quote. I don't need to write the quote out. Just a few lines and squiggles to indicate where things will go. This gives me an idea of what it will look like before going through the trouble of writing it out in pen and ink with the illustration. Thumbnails are a big time-saver. If I hate the layout at 2 inches big, I'm not going to love it any better when it's 10 inches big.
I can write the quote in a circle with the illustration in the center. Write the quote in a straight line or lines with the illustration above. Write the qoute in a curve above the illustration. Write the quote in a curve below the illustration. I can divide the quote into four sections and write each section along an edge of the paper with the illustration in the center. I can go on and on with possible layouts by tossing in how I will hold the paper: portrait or landscape.
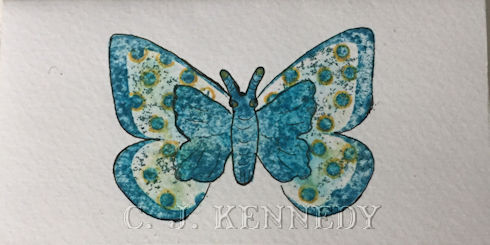
The previous layout of this quote was done in a circle with the illustration in the center of the circle.
This is the layout I like best and the one I'll use.
How do you go about planning your work?
Follow the link to see the finished piece Don't Tickle the Dragon
It's your turn to play. From Elizabeth: Now it's time to share your Second on the 2nd. The rules are quite simple and everyone is welcome to join the fun look back. All you have to do is bring back a post that you are especially proud of, or perhaps one you shared before anyone knew your blog existed. Any post, any genre, any artistic endeavor is acceptable. Join hosts Bleubeard and Elizabeth to see what else is being served up the Second Time Around.